In continuing our 'how to...' series, today we shall outline in this blog how to make your own beard butter.
If you have not seen our other blogs on how to make your own beard oil and beard balm, then click the following links below
Now back to our main topic for today, how to make your own beard butter at home, knowing the ingredients in it and the scent you want.
Ingredients and Equipment Required:
- 30ml/60ml or 100ml Aluminium Tins (you can get these in packs from Amazon for as little as £4)
- 150g Shea Butter*
- 50ml of a mixture of carrier oils (see the list of carrier oils we recommend in our how to make beard oil blog. Click here.
- A glass or metallic bowl
- A large cooking pan
- Electric Egg Beater / Egg Mixer
- Essential or Fragrance oil of your choice.
The Process:
1. Take a large pan, place some water in it and place it on the cooker on medium heat.
2. Place the 150g Shea butter inside the glass or metallic bowl. Place the bowl which the Shea butter is in into the large pan that is on the cooker. This will create a double boiling method (have a look at YouTube if it doesn't make sense).
3.Allow the Shea butter to fully melt before removing from the heat. Once removed from the heat, put it aside for 10 to 15 mins until the container it's in has cooled down.
4. Once the container in which the melted Shea butter is in has cooled down, place it in the fridge. Now we can't set time limit on how long it should be in the fridge because your fridge could be on the coldest or mildest setting. Once in the fridge pay attention to the Shea butter structure, it will first go from golden liquid to very viscous oil. You want to remove it at this stage from the fridge
5. Get the electric eggbeater and set it to medium speed. Keep mixing the Shea butter until it goes from golden in colour to white. Bear in mind it should still be in liquid state and not fluffy. This process should take around 5 to 7 mins.
6. Once it has become white/creamy in colour and texture, it is now time to add the carrier oil and essential oil. Be mindful when adding the essential oil. With this mixture 5-8ml of essential oil should be more than enough**.
7. Continue mixing the mixture until you start to see bubbles form at the top just like when whisking eggs. Now you can either stop here and pour the mixture onto the tins or continue until the mixture become really whipped and resembles whipped cream. We recommend you continue whisking the mixture for around 10-12mins. This will help the butter stay soft for a long time and stop it from hardening.
8. Pour into the tins and keep them somewhere warm to avoid the butter becoming hardened. In any case it will become fluffy again when you place it somewhere warm for a few minutes.
TOP TIP:
- Whipping the butter for 10-12 mins is a must.
- Make sure your oil mix contains coconut and Argan oil. These two oils are known for helping the butter stay buttery.
Final Words
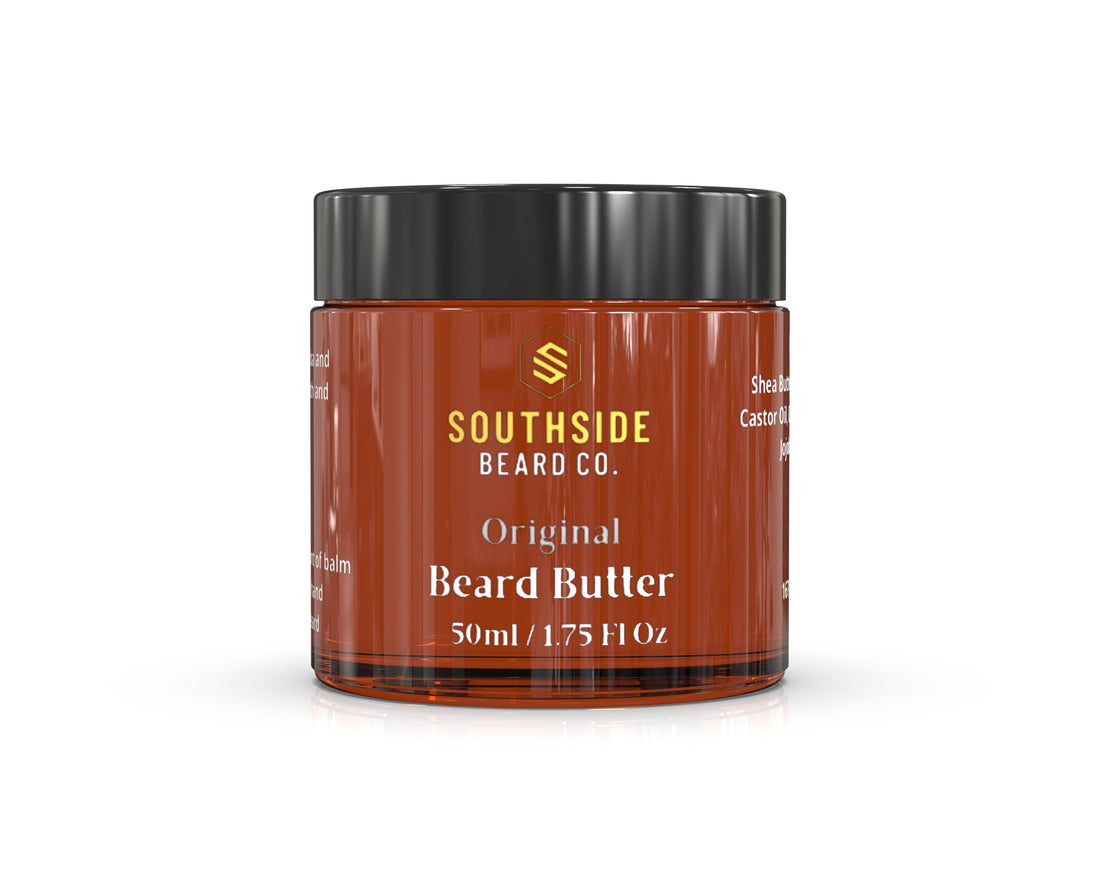
Making beard butter is a love and hate process because the steps are so intricate. Some days it'll come our really good and other days; you'll just have to accept whatever you made. However, as time goes on, you'll start to realise what your preference is, and you will tweak our steps here to suit your needs. In any case you now have the tools and tips on how to make beard butter. Go out there and make your own beard butter or if you can't be bothered click this link to see our awesome selection of beard butters.
*Refined or unrefined Shea butter is fine. Unrefined is pure however it comes with its own natural smell which is hard to get rid of unless your overdose the beard butter with essential oil which we DO NOT recommend. Refined Shea butter does not have any scent but does lose some properties in the process of refining it.
**You can put less or more depending on your preference but always read the essential oil label on percentage of oil you should use.